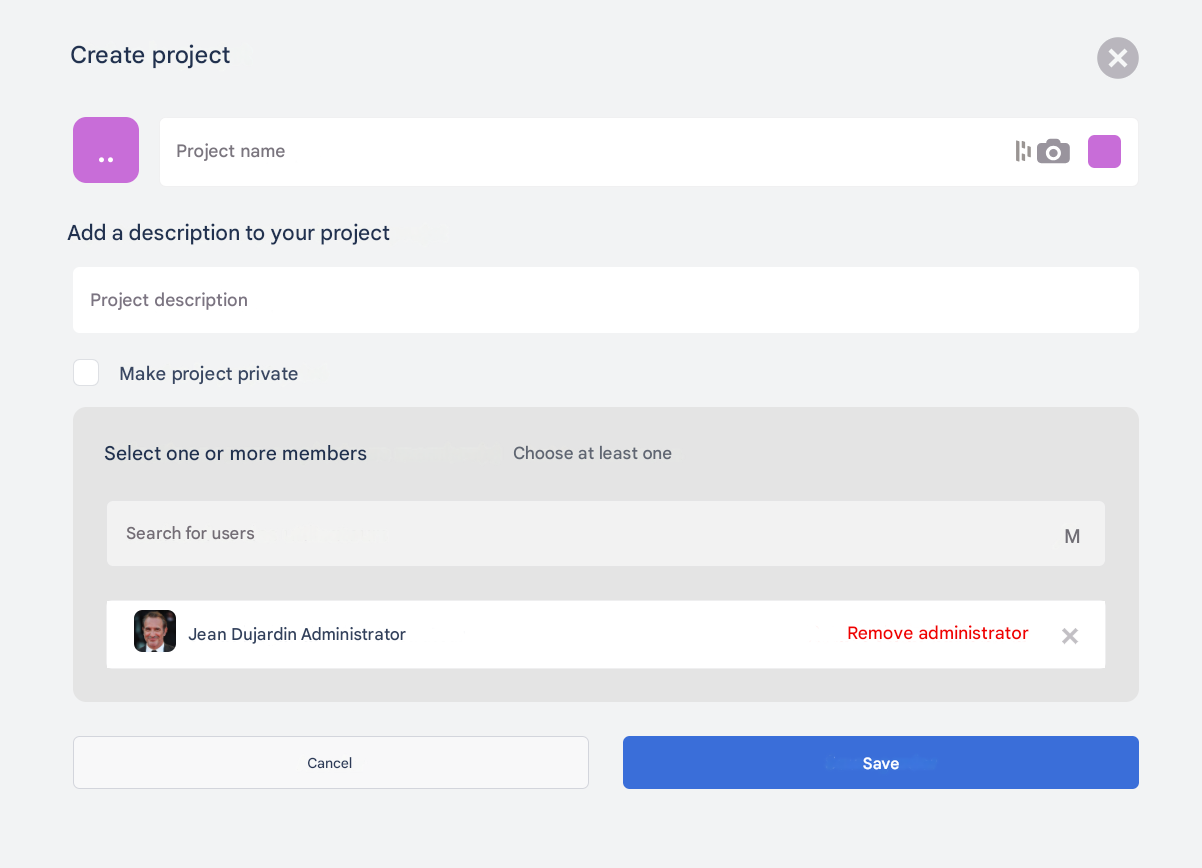
❓ How to create a project in Zest?
🔎 Who can create a project?
- Employees authorized by the organization
- Administrators and Super Admins
🚀 Steps to create a project
- Go to the “Projects” tab
From the navigation bar, click “Create a project”.
- Name the project
- Enter a clear and explicit title.
- Example: “Marketing Onboarding Q1 2025”.
- Add an image (optional)
- Makes the project easier to identify.
- Format: square or landscape, displayed as the project thumbnail.
- Enter a description
- Describe the objective and scope of the project.
- Example: “Tracking the onboarding of new hires within the Marketing scope during the first quarter.”
- Define visibility
- Private: only visible to invited members.
- Internal public: visible to all Employees (who can request to join).
- Add members
- Select the Employees to invite directly.
- Define their roles: members or project administrators.
- Confirm creation
- The project appears in the “Projects” space of the added members.
- The relevant people receive a notification.