🛠 Build and configure your Engageometer
Campaign setup is done from the “Manage” tab by clicking the dedicated button.
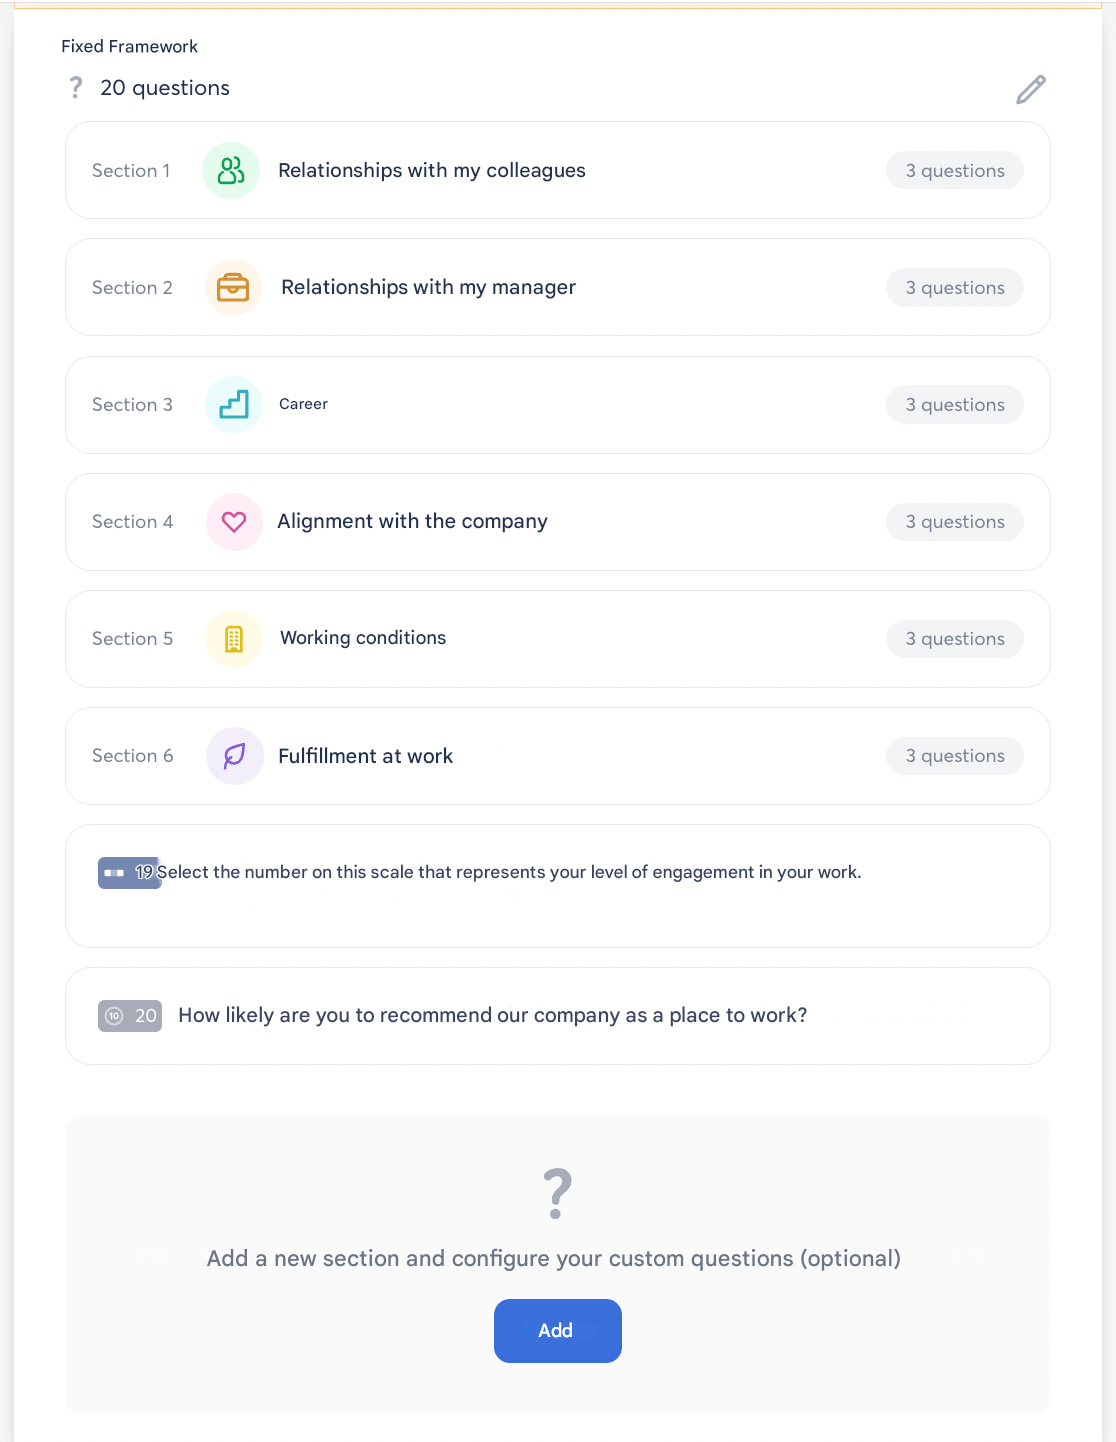
The 20-question framework is fixed (ready to use), with the option to add up to 10 custom questions in a dedicated section.
1️⃣ Step 1: Define basic settings
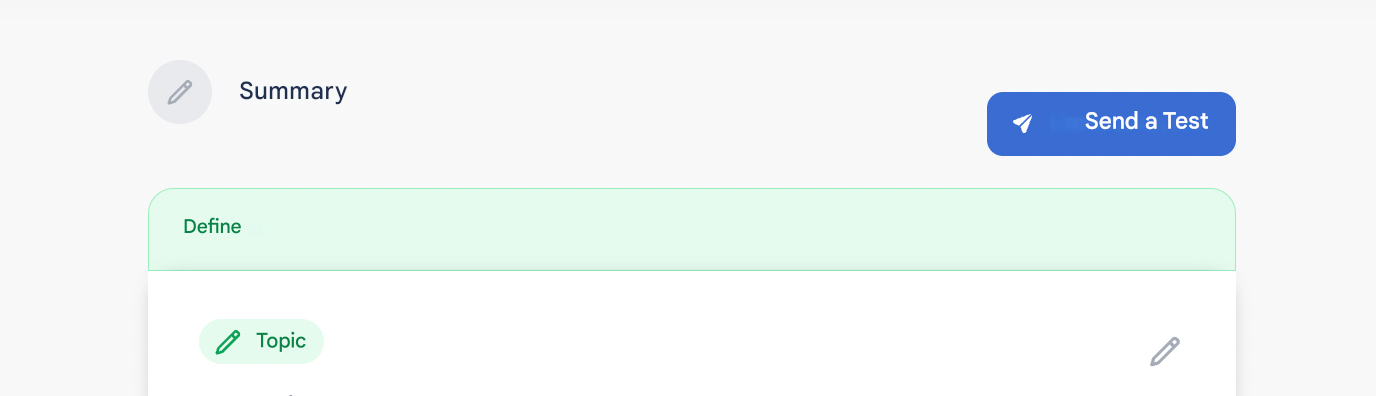
The process starts with the “Summary” step to give you an overview of all configurations.
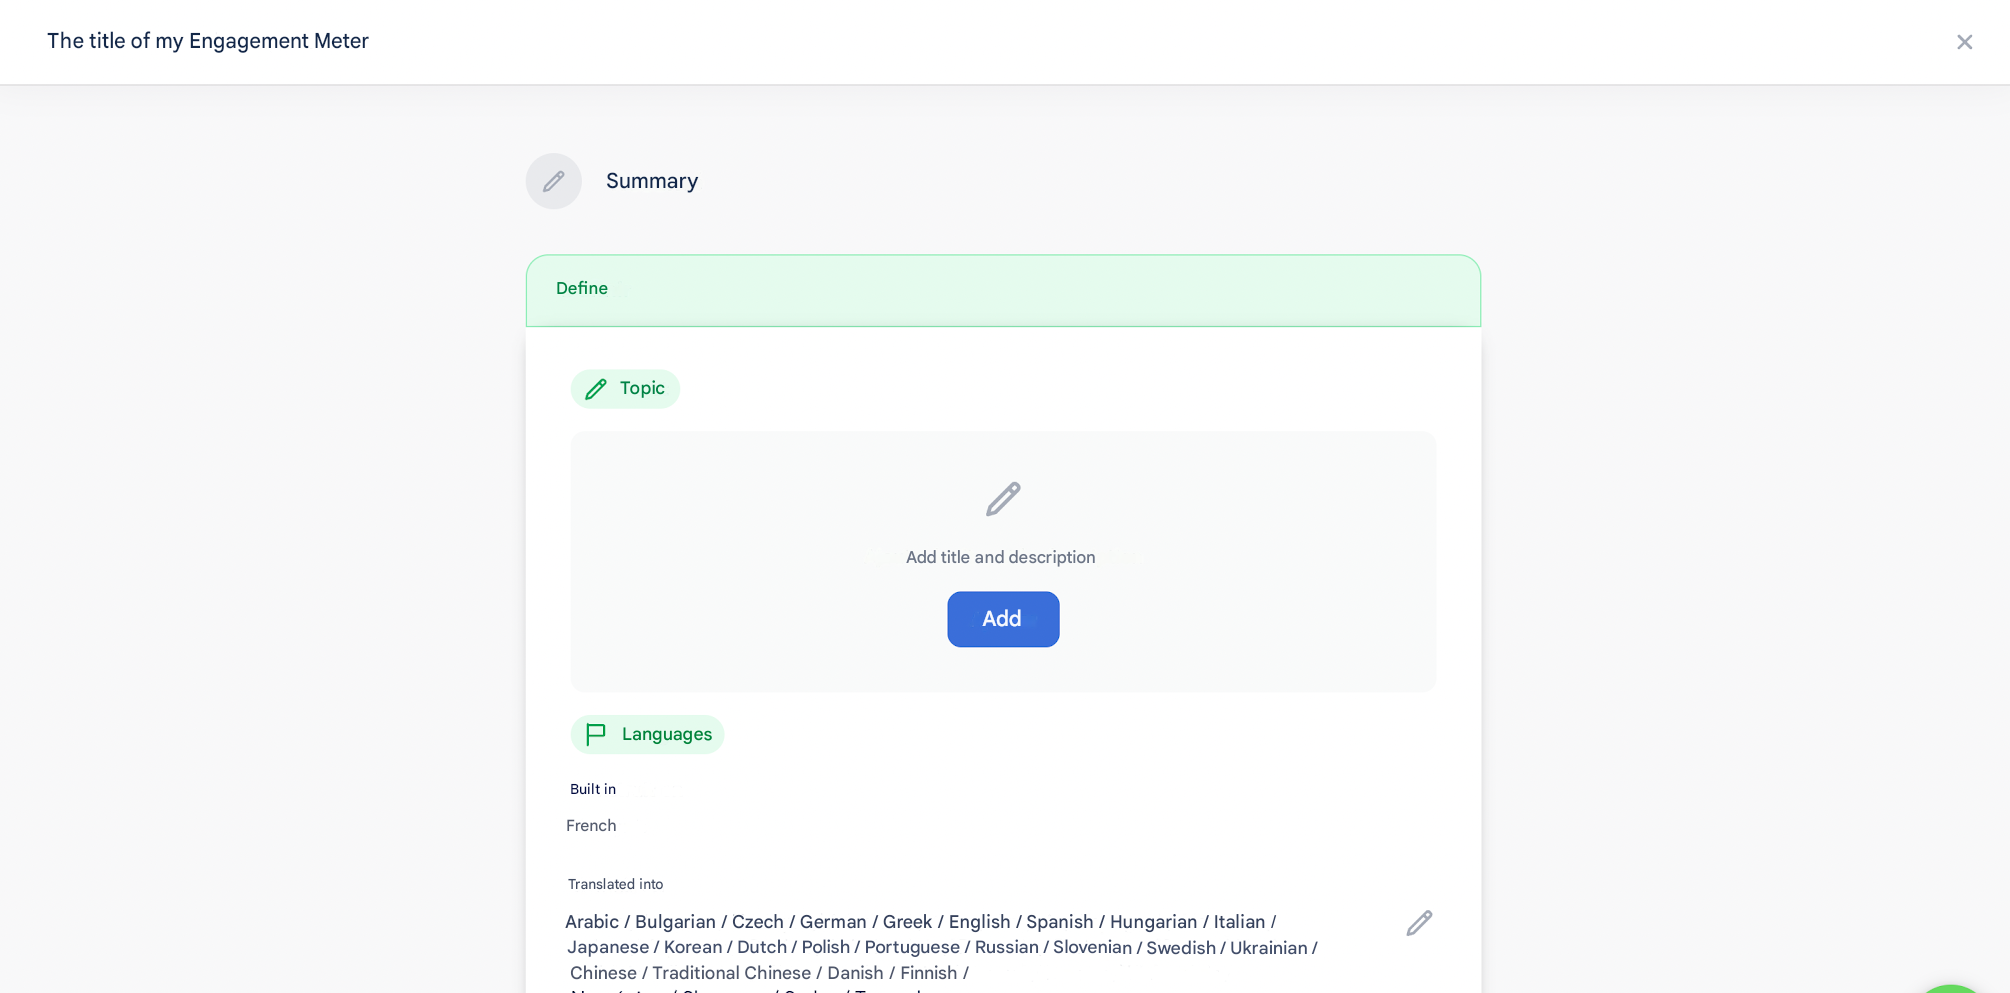
Some information is already pre-filled (languages, contributors).
You need to complete:
- Campaign subject
- Description
- Recipients
- Response mode
- Results access
- Scheduling
📌 Optional:
- Custom questions section
- Translations
You can save and continue later from the “Manage” tab, under “Draft”.
🎯 Roles and collaboration
You can assign roles to collaborate:
- Owner: full access
- Editor: access to “Build” + “Summary”
- Translator: access to “Translate” + “Summary”
🔴 Editors and translators can only access surveys in Draft mode.
2️⃣ Step 2: Build questions
📂 Fixed template (20 questions)
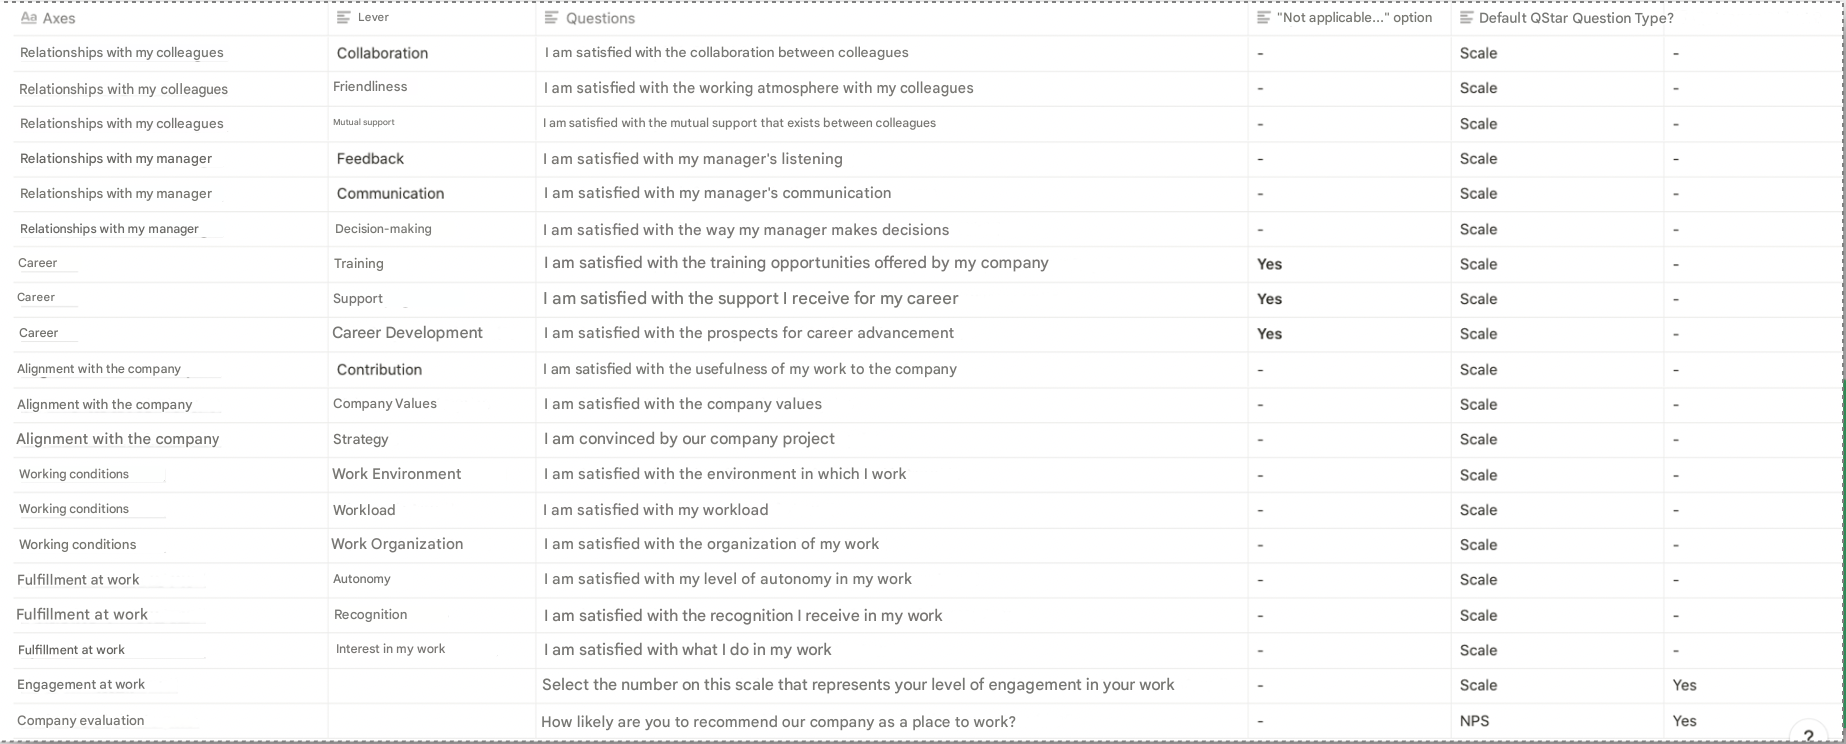
Selected by our work psychologists, it is non-editable (except removing Star Questions).
Includes:
- 18 satisfaction questions
- 1 engagement score (0–10)
- 1 NPS question
📝 Features:
- Scale-based (0–10)
- “Not applicable” forced on 3 questions
- 2 default Star Questions (removable only)
✏️ Custom template (up to 10 questions)
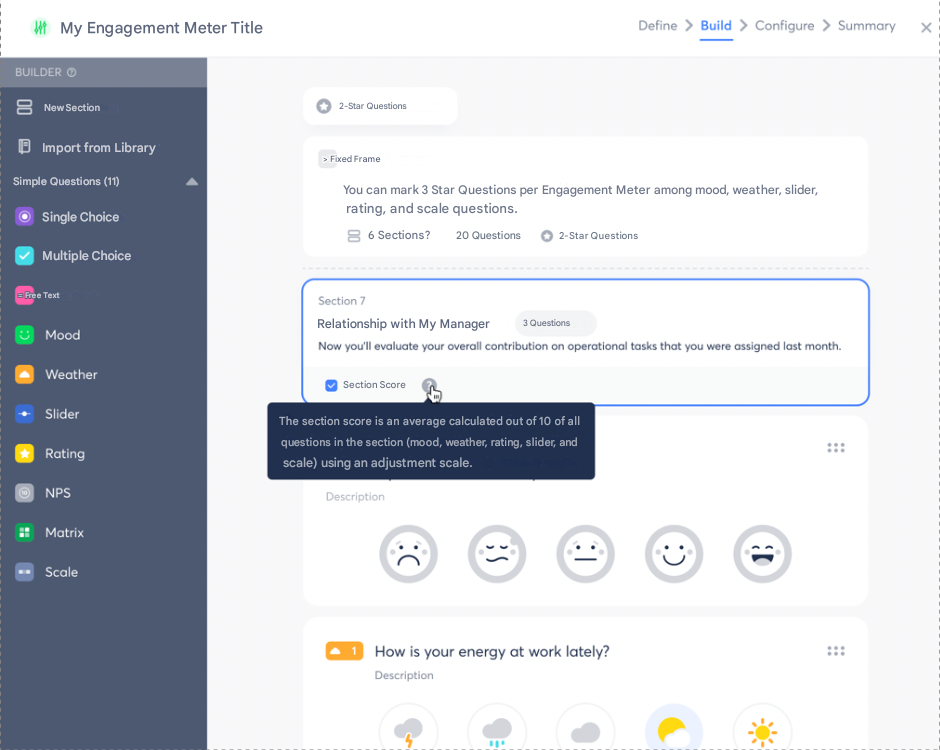
- Optional
- Configurable like a standard survey (conditional logic, targeting…)
- Coming soon: Section Scores
3️⃣ Step 3: Configure settings
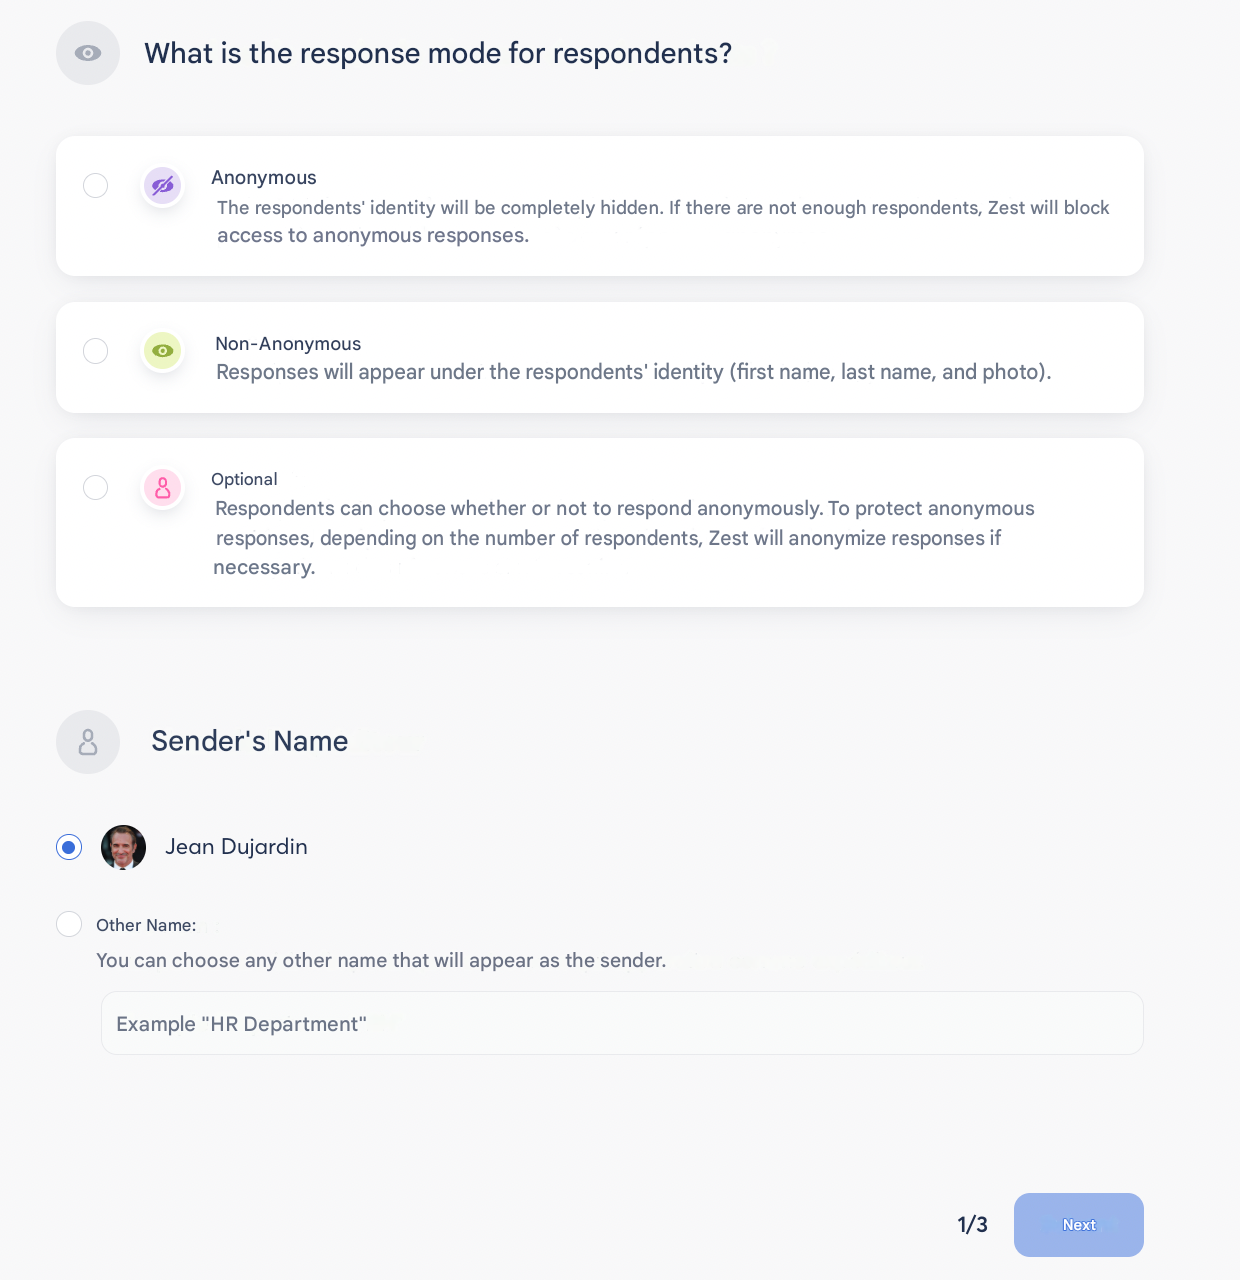
- Response mode: Anonymous, Public, or Optional
- Sender name in invitation email
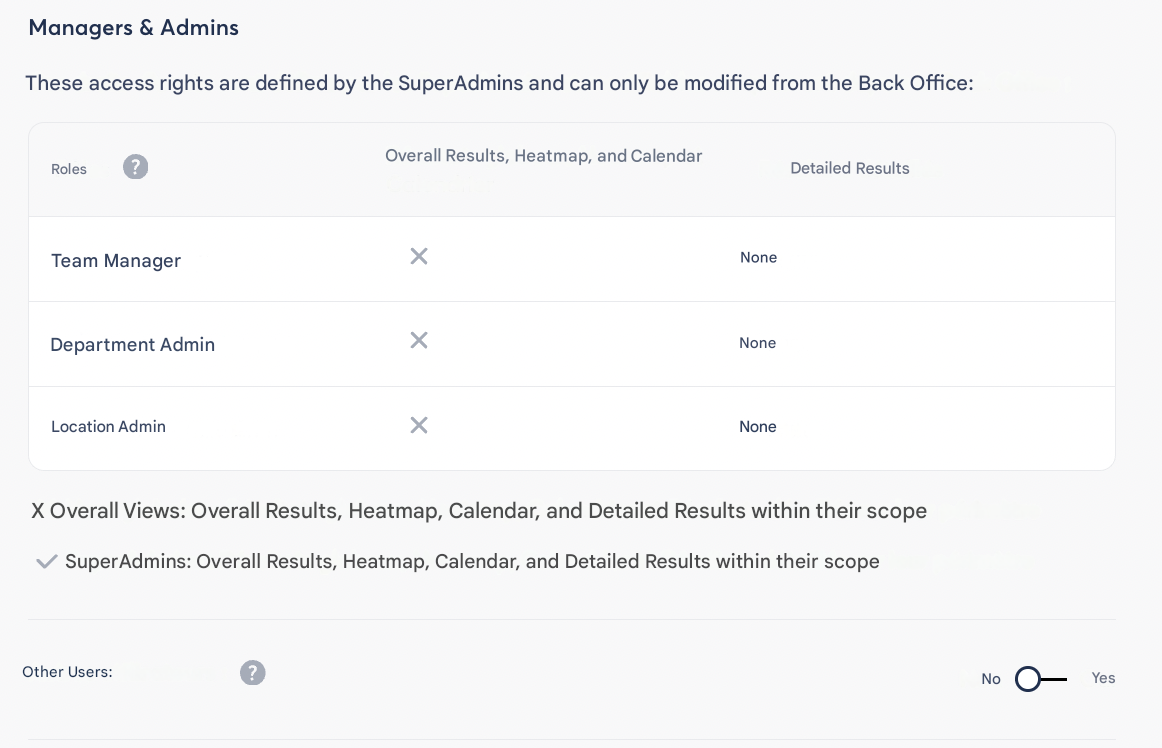
- Named results sharing (depending on role)
- Excel export access (configurable in Back Office)
- Access to static and dynamic results (enabled by default)
⚠️ Managers and employees only see the dynamic view
⚠️ Data is available only after each session ends
⏱ Scheduling and follow-up
- Daily participation report (sent at 8 AM to owners)
- Automatic reminder 1 to 7 days before closing
- For recurring campaigns: reminder sent 5 days before launch
4️⃣ Step 4: Review and launch
The “Summary” step allows you to:
- Check all configurations
- Edit easily via ✏️ icons
- Send a test Engageometer (email + homepage card)
- Test analysis and results flow
- Delete or replace tests before launch
When everything is ready, click “Launch the Engageometer” 🎯
💡 Tip: Send a test to a small group to refine the experience before official launch.